How I Manage 6 Shows Per Month
There was a week, early in my podcast management career, when I published an episode with the wrong guest bio.
Not slightly wrong, wrong guest entirely. Someone else’s bio, in someone else’s show notes, under someone else’s name.
It was up for about forty minutes before I caught it. The host was gracious. The actual guest never found out. But I spent the rest of that day running an imaginary film of everything that could have gone wrong if the timing had been different.
That was the week I stopped relying on memory and built a proper system.
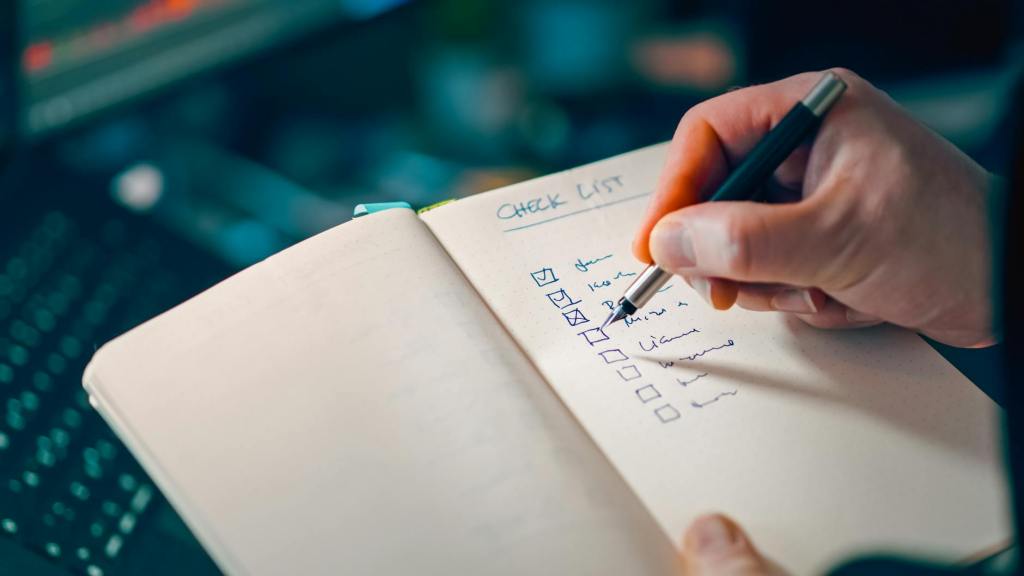
A checklist isn’t about distrusting yourself.
It’s about freeing your brain for the work that actually requires thinking.
Why checklists work
Memory is not a reliable production tool. When you’re managing a podcast on top of everything else in your life, the small steps, the ones that feel too obvious to write down, are exactly the ones that get missed.
A checklist means your production quality doesn’t depend on how tired you are, how busy the week has been, or whether you’ve had enough coffee. Every episode gets the same standard. Every guest gets the same care.
Here’s the workflow I use with every client, broken into seven stages.
Stage 1: Pre-production
Before anything is recorded, there’s a setup stage. Guest confirmed, briefing doc sent, recording link shared, equipment reminder sent, and file naming convention agreed. This takes about 15 minutes and prevents a significant number of downstream problems.
Stage 2: Recording day
Receive the raw file, rename it immediately using a consistent convention (EP number, guest name, date), save a backup copy to cloud storage, and make any notes about moments to cut or highlight while the recording is still fresh.
Stage 3: Audio editing
This is where the bulk of production time goes. The checklist for this stage covers: verbal fillers removed, mistakes cut, noise reduction applied, sound leveling done, intro and outro added, ad placement inserted if relevant, final file exported and named correctly. Sometimes I add a step for host approval before the episode goes to scheduling.
Stage 4: Show notes and content
Episode summary, key takeaways, guest bio, links and resources, plus all six platform captions and the newsletter section. Each piece is listed separately on the checklist because each one is written, and each can be accidentally skipped if it isn’t tracked individually.
Stage 5: Social media assets
Two assets per episode, whether that’s an audiogram, a static graphic, or a short video clip. Created, reviewed, and sent to the host or stored in the shared folder.
Stage 6: Scheduling and publishing
Audio uploaded to the hosting platform. Blog post published or scheduled on the website, with the episode player embedded and SEO fields completed. Social posts scheduled across platforms.
Stage 7: Guest outreach
Episode link sent to the guest. Promo materials shared. Guest tagged in social posts. This step lives at the end of the checklist because it can only happen after publishing, but it’s not optional. It’s one of the most important relationship-maintenance steps in the entire workflow.
Seven stages, one episode – done properly, with nothing left to chance.
Get the template
I’ve turned this workflow into a free Notion template, the Episode Production Workflow. Each stage has its own checklist, plus a properties section at the top so you can track every episode across your whole show.
| 📋 Get the Free Episode Production Workflow The Notion checklist I use with every client. Free to download. |
If systems aren’t your favorite part of running a podcast, if you’d rather just record and trust that everything else is handled, that’s exactly what I’m here for.
P.S. What’s the step you’re most likely to forget without a checklist? For me, it used to be the embedded episode player. Every time.


Leave a comment